


A guitar pedal enclosure is chosen in two separate steps. First, you pick a box big enough for the board, the jacks, and the controls, with clearance left over. Then you lay out the panel on paper before any drill touches the metal. Builders who work in the reverse order usually end up with a box that is too shallow or with a footswitch sitting exactly where a tone knob needs to go.
The dimensions used in this article are based on published technical drawings for the 1590 series die-cast enclosures, a common reference for guitar pedal builders. Actual dimensions can vary slightly among manufacturers, so it is worth checking the drawing for your specific enclosure before drilling or planning the internal layout.
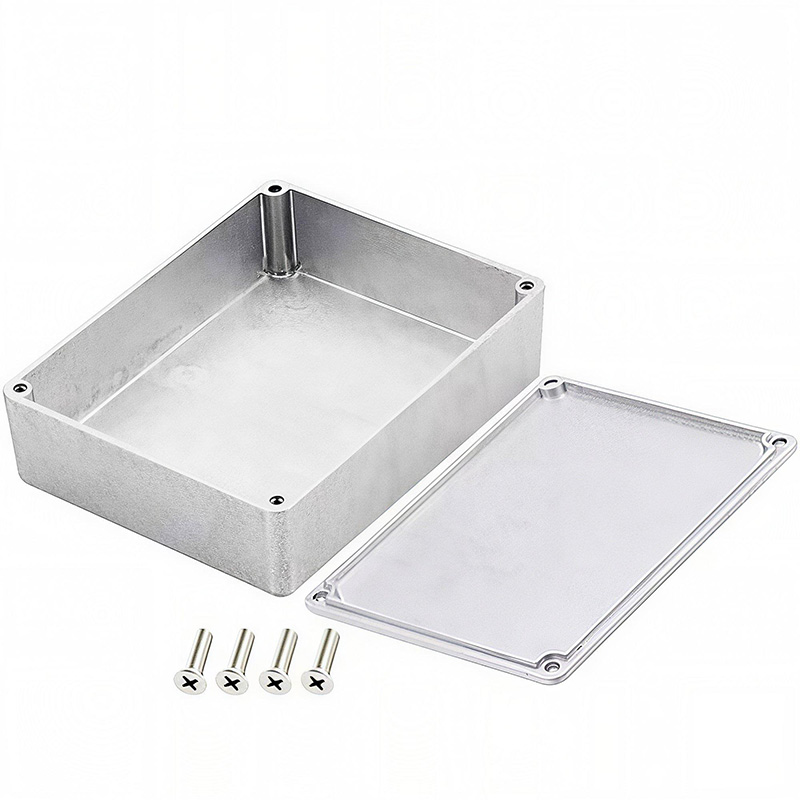
Understanding the Different Enclosure Sizes
The numbers in these names are model designations, not dimensions. A 1590B and a 1590BB are entirely different enclosures that happen to share a common family designation.
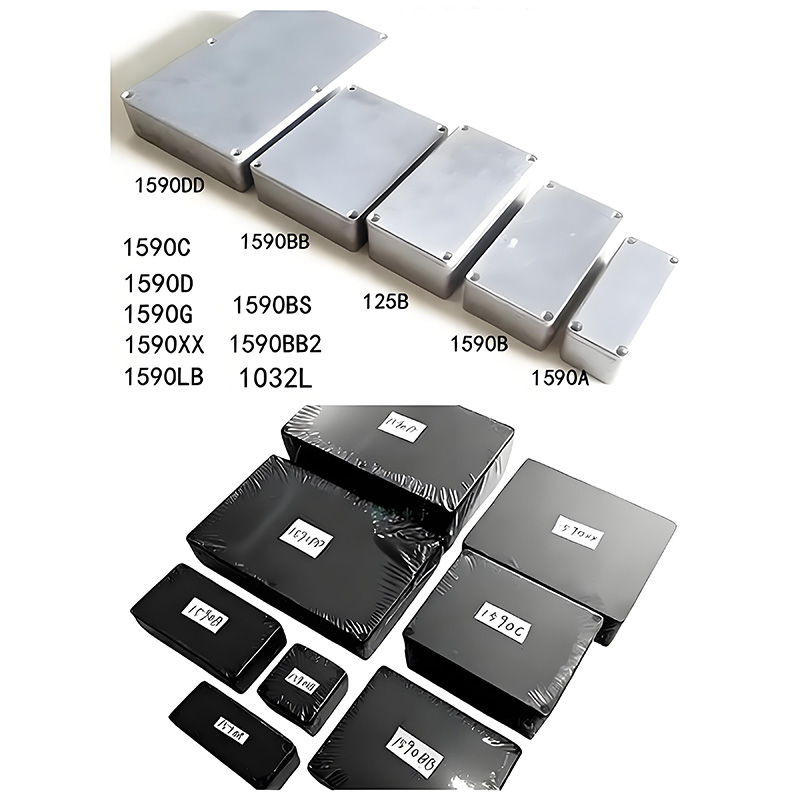
| Size Class | Typical Outside Length × Width × Height | What It Usually Holds |
|---|---|---|
| 1590A class | About 93 × 39 × 31 mm | One board, one or two knobs, tight wiring |
| 1590B class | About 112 × 61 × 31 mm | The standard three-knob overdrive or distortion |
| 1590B2 class | About 112 × 61 × 38 mm | Same footprint as a 1590B with more interior headroom |
| 125B class | About 121 × 66 × 40 mm | Four knobs, a battery, a roomier board |
| 1590BB class | About 120 × 94 × 34 mm | Six knobs, two boards, or a dual pedal |
| 1590XX class | About 145 × 121 × 40 mm | Two complete circuits side by side |
Height is the dimension builders frequently underestimate, yet a taller box costs almost nothing extra at checkout. Width buys knob spacing, which is what players feel on a dark stage.
Start With What Has to Fit Inside
Work from the inside out. On a 1590B, the internal cavity is about 107 mm long, 55 mm wide, and 27 mm high, the wall is around 2 mm thick, and the lid adds about 4 mm to the overall height. The largest board that fits with adequate clearance is roughly 105 by 53 mm. Those figures are published and serve as the true baselines for your layout.
Add up the component stack before you buy. A circuit board on short standoffs, a footswitch body behind the panel, an input jack whose barrel extends into the box, and a 9V battery snap all compete for the exact same volume. A footswitch mounted on the top face intrudes about 20 mm into the interior on most 12 mm switches, which accounts for more than half the cavity depth of a 1590A. If a battery must reside inside, the enclosure generally needs to step up by one size class.
Sealed and corrosion-resistant variants also exist within these same families. Our die-cast aluminum enclosure range covers the 1590, 125, and 1032 envelopes, including IP54 versions where designs require dust and splash protection.
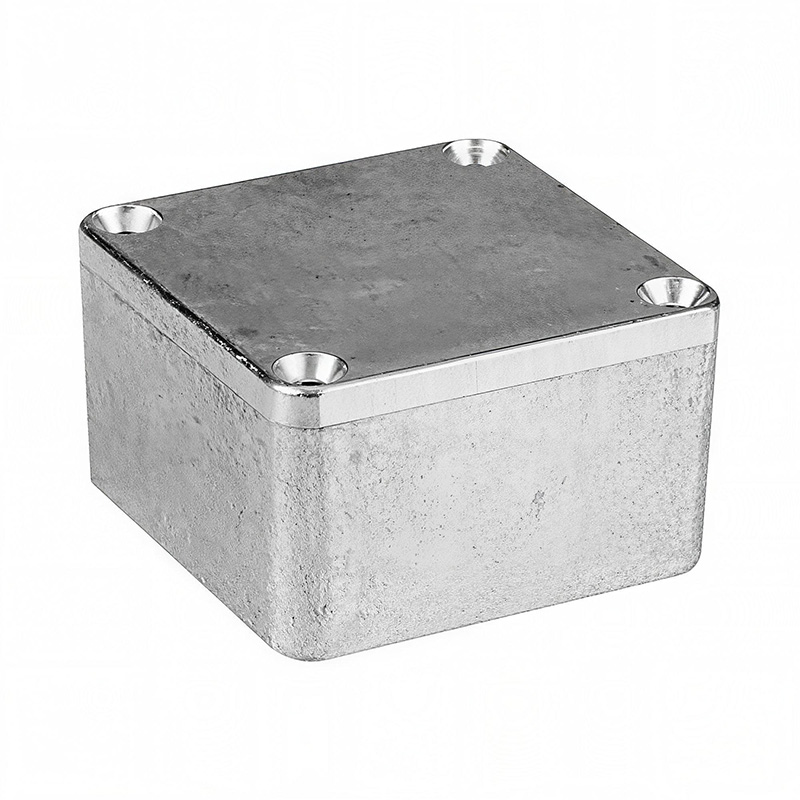
Panel Layout Comes Before the Drill
Lay out the panel using dividers and a fine marker, or print a full-scale template and tape it down. The sequence below keeps the layout stable:
Three practical rules save an enclosure: keep every hole at least one full hole diameter away from any edge, as die-cast aluminum can fracture at thin structural webs; maintain adequate distance between adjacent potentiometer centers so knob skirts never collide; and keep the footswitch clear of the lid screw bosses that sit in the internal corners.
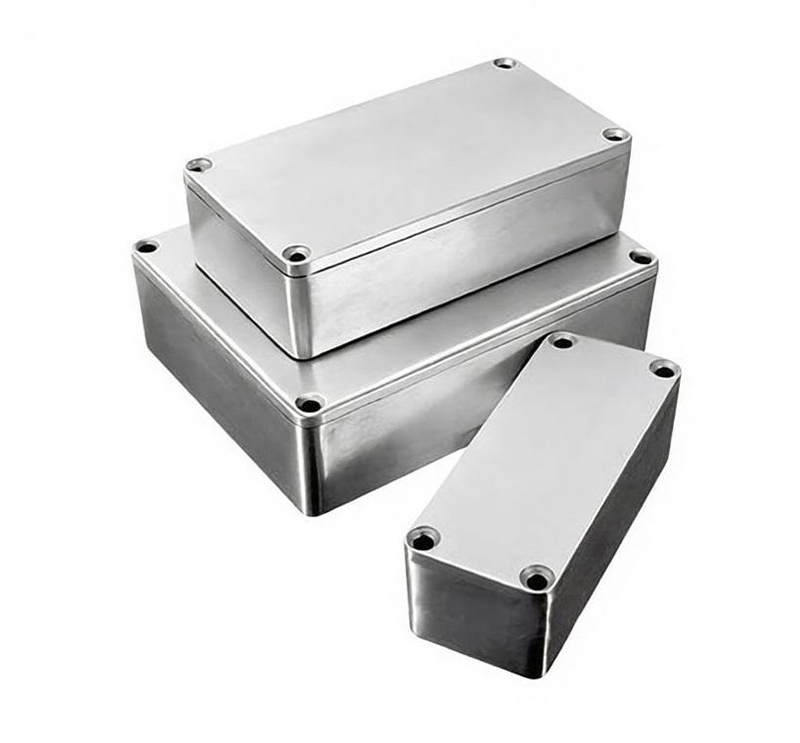
A Drill Sequence That Keeps Holes Aligned
Center-punch every layout mark. A step drill bit guided into a punched indentation stays exactly where you place it, whereas the same bit against unpunched metal will wander across the panel face. Drill a small pilot hole first, then step up gradually to final size, checking clearance against the actual hardware component rather than relying solely on datasheets.
Typical mounting hole diameters include 12 mm for a 3PDT footswitch, 9.5 mm for a 1/4-inch open audio jack, and roughly 8 mm for a 2.1 mm barrel DC power jack. Always verify each component in hand, as switched or sealed jacks frequently require larger cutouts than standard open-frame versions.
Deburr both sides of the panel after drilling each hole. Burrs on the interior prevent potentiometers and switches from seating flush, while exterior burrs show through powder coat and paint finishes. Once all holes are cut, perform a complete dry-fit assembly of the footswitch, potentiometers, and jacks before sending the box for surface finishing.
Why Aluminum Is the Usual Choice
Die-cast aluminum fulfills three essential roles simultaneously: it dissipates heat away from voltage regulators, shields audio circuitry from radio-frequency interference, and bonds well with durable powder-coat finishes designed for touring pedalboards. The tongue-and-groove lap joint of a die-cast box seals the perimeter between lid and body, ensuring the interior remains dry in a way that bent sheet-metal boxes with flat lids cannot achieve.
Recommended torque for cover screws in this enclosure series is approximately 0.5 to 0.55 N·m for standard metal-to-metal joints, and lower when an elastomeric sealing gasket is installed. Over-torquing is the primary cause of stripped screw bosses during initial assembly.
Mistakes That Cost a Builder a Box
Drilling the enclosure panel before completing the PCB assembly, only to discover the potentiometers do not align with the board footprint.
Selecting an enclosure based solely on footprint dimensions, preventing the lid from closing over the tallest electrolytic capacitor.
Overlooking the fact that a 9V battery clip and a footswitch body compete for the same physical internal volume.
Placing the status LED where the player’s foot blocks line-of-sight during active stage use.
Using an aggressive hole saw on small cast enclosures, which grabs and distorts thin cast-aluminum sidewalls.
Painting or clear-coating the interior lid face, which can cause electrical shorts against component solder joints.
Ordering the Right Box First
Order the enclosure alongside your hardware, not afterward. A builder who knows the exact enclosure class can lay out circuit boards accordingly, and a manufacturing partner who knows the box profile can provide matching base lids, screws, sealing gaskets, and pre-punched plates in a single order.
Our 1590B style enclosure is the industry standard for overdrive and distortion circuits, complemented by anti-corrosion finishes and protective bottom rubber pads for touring-grade stompboxes. If you are preparing a commercial production run, contact our engineering team with your panel drawing to quote CNC drilling, powder coating, and customized silk-screening together.