


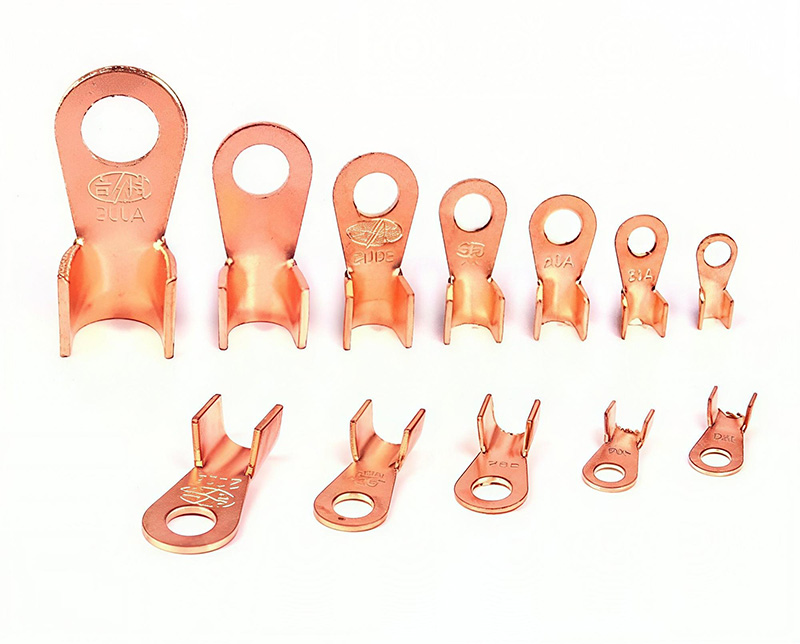
Consider the Operating Environment
Three questions sort most jobs, and they come before any part number. Ask whether the joint gets opened again, whether there is vibration at the fastener, and whether the wire must stay captured if the screw relaxes. The answers point to one family and rule out the other two before any part number gets pulled.
Wire size and current come later, and they do not change the family choice. A 48 A joint on a battery stud is still a ring job, and a 19 A jumper inside a housing may still be a splice.
Ring Terminals for Bolted Stud Connections
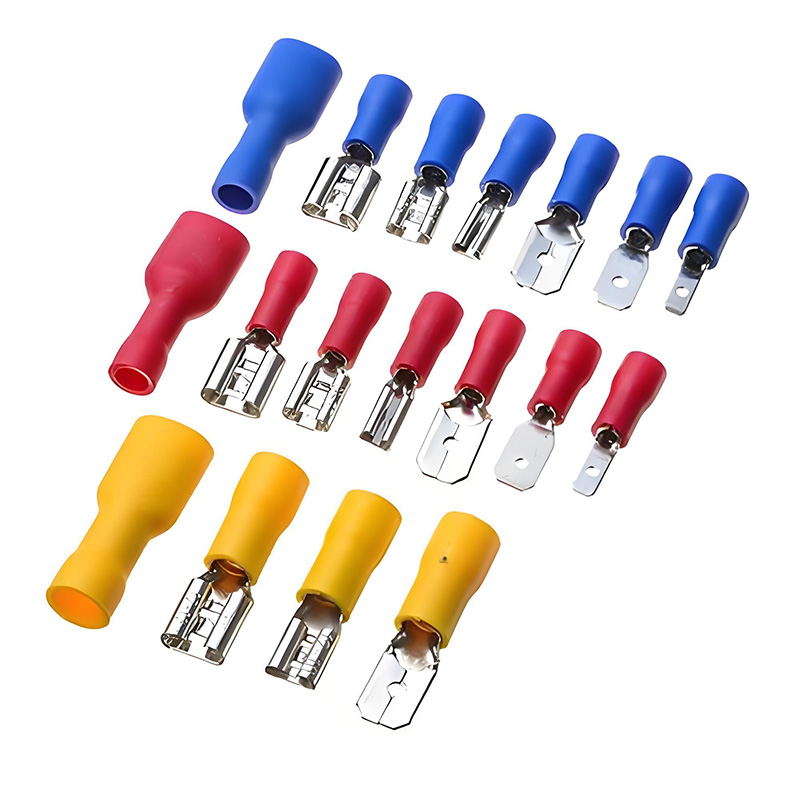
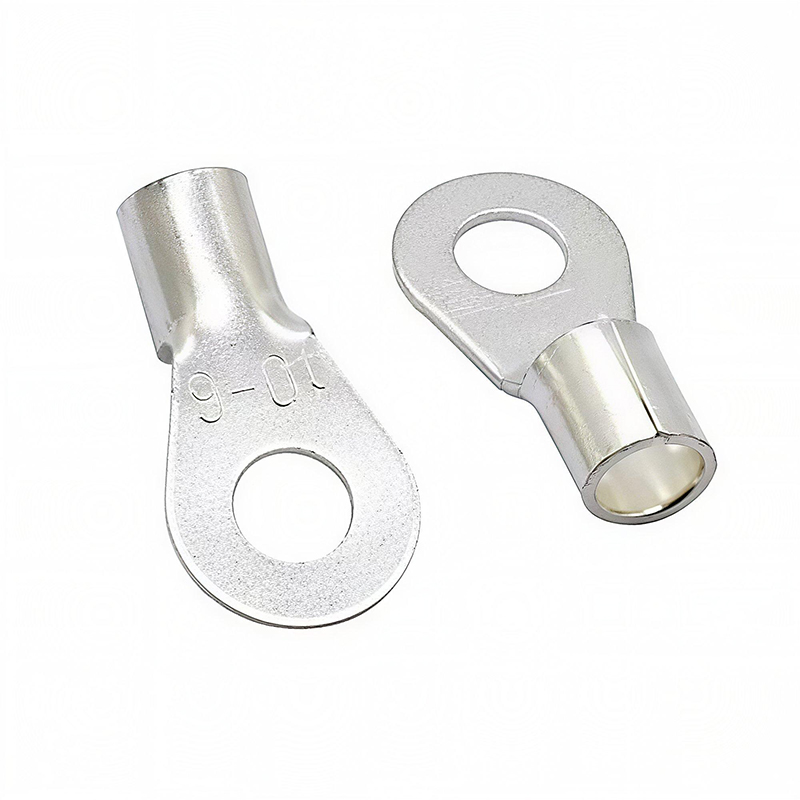
A ring terminal carries a closed pad that surrounds the stud completely. The screw passes through the ring, so the terminal cannot leave its post until the screw is fully withdrawn. That closure is why rings dominate bolted work on battery posts, ground straps, and chassis lugs.
The advantage appears when a fastener relaxes. A ring still encircles the stud, so the wire stays mechanically captured even after clamp force drops. On equipment that shakes, that difference decides whether a ground return stays connected. Safety circuits and protective earth runs are commonly specified as ring terminals for exactly this reason.
The tradeoff is service time. Removing a ring means taking the screw out entirely instead of backing it off a few turns. Where a device sits behind a wire bundle, that can mean moving other hardware first. Choose the ring when the joint must not open by accident, and accept the slower removal.
The ring terminal range covers stud sizes across the RV series, in a copper body with PVC insulation.
Spade Terminals for Fast Service
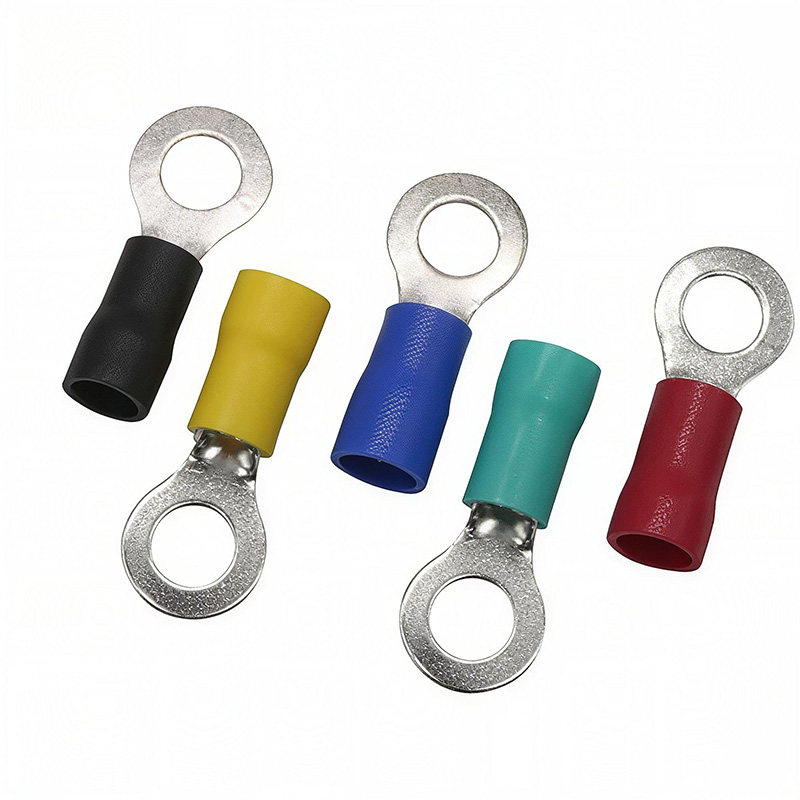
A spade terminal, sometimes called a fork terminal, has an open slot in place of the closed ring. The screw is loosened and the fork slides under the head, so service takes seconds and no hardware leaves the panel.
Two blade widths cover most of the market: a narrow one for small studs and a wider one for heavier hardware. They are not interchangeable on the same tab, and forcing a narrow fork onto a wide post leaves the contact area short. Match the width to the mating tab from the drawing rather than by eye.
The open slot is also the weakness, because a fork can slide out from under a screw that has worked loose and the wire then hangs free with nothing holding it. Vibration plus a spade deserves a second thought. Where a joint must stay put through shock, the ring is the safer call.
Butt Splices for Permanent In-Line Joints
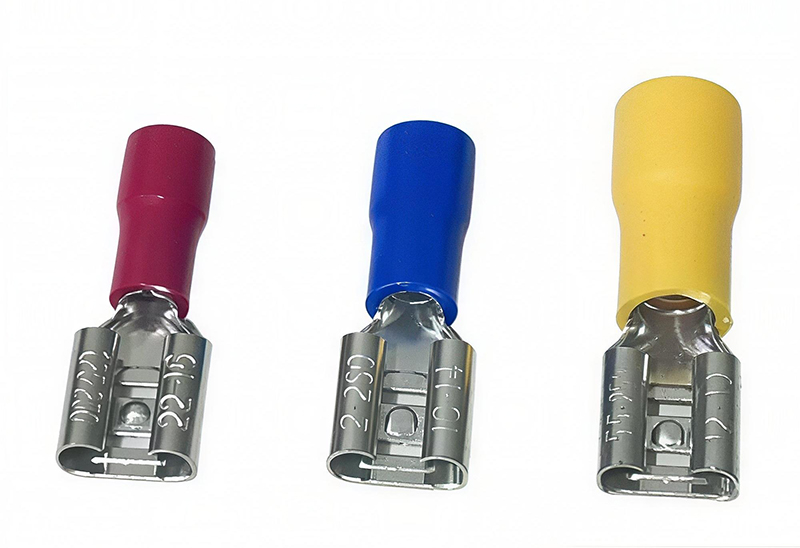
A butt splice connector joins two wire ends inside a single barrel, one conductor in each end, crimped at both. There is no stud, no tab, and no fastener to check on the next service round.
Splices suit repairs and extensions where the joint will never be opened, such as a harness branch or a lead extended inside an enclosure. A terminal block is the better answer when the joint has to be accessible, testable, or changed later. Blocks take more room, but they open without cutting wire.
Crimping matters more on a splice than anywhere else, because there is no second chance. Pliers flatten the barrel into an oval, which leaves thin contact area and no strain relief on the strands. A crimp tool with the matched die forms the barrel evenly around the conductor. Reach for the tool, not the pliers on the bench.
Matching Wire Range and Stud Size
The RV series shows why the two choices are separate, since wire range follows the current the joint carries and stud size follows the bolt it lands on. Both must match the part, and a correct wire range does not excuse a wrong stud.
| Series | Wire Range | Current Rating | What to Watch on This Size |
|---|---|---|---|
| RV1.25 | 0.5–1.5 mm² | 19 A | Thin strands cut easily; use the small die and check every strand. |
| RV2 | 1.5–2.5 mm² | 27 A | The common panel size; confirm both the wire and the stud. |
| RV3.5 | 2.5–4 mm² | 37 A | Needs the heavier die in the tool, not the small one. |
| RV5.5 | 4–6 mm² | 48 A | Larger barrel; check the tool is rated for the body. |
Read the table as a pair of decisions. Pick the row that covers the conductor, then pick the stud size within that row for the hardware on the machine. A 4 mm² cable on a small bolt needs the RV3.5 body with the small stud, not a smaller terminal opened up to take the wire.
Oversized wire in an undersized barrel will not seat fully. Undersized wire in an oversized barrel leaves voids around the strands and a joint that pulls loose under load. Neither fault shows up on a quick visual check, which is why the wire range is printed on the terminal and on the bag.
What the Insulation Color Tells You
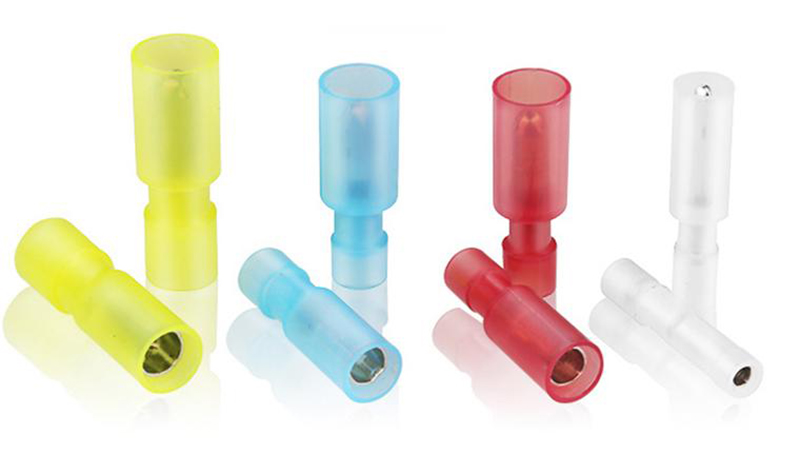
Red, blue, and yellow mark three wire ranges on insulated crimp terminals. Red covers the smallest range, blue the middle, and yellow the largest used in automotive and appliance work. Color is a fast sort on the bench, not a specification.
Two suppliers can map the same color to slightly different ranges, so the exact range must be confirmed on the datasheet for the part you ordered. Treat the color as a first filter and the datasheet as the decision.
A Crimp Inspection Checklist
Eight checks catch nearly every bad crimp before the panel closes, and none of them takes more than a few seconds:
Strip length fills the barrel without bare strands past the insulation crimp.
No nicked or cut strands at the strip point.
Insulation sits where the terminal design calls for it, not pushed back behind the barrel.
The tool carries the die listed for that terminal series and wire size.
One full crimp along the barrel, not two half crimps at different spots.
A firm hand pull on the wire does not move it inside the barrel.
No cracks, splits, or sharp flash at the barrel seam.
No solder added on top of a crimped joint.
Solder over a crimp is a common shortcut that stiffens the strands and hides a weak joint underneath. A sound crimp needs no help, so if the joint feels loose after crimping, cut it off and start again with a fresh terminal.
Frequently Asked Questions
When should I use a ring terminal instead of a spade fork terminal?
Use a ring terminal for safety grounds, battery posts, and high-vibration equipment where the connection must remain mechanically captured even if the screw or stud loosens. Use spade terminals for quick-maintenance panels where fasteners only need to back off without complete removal.
Can I use pliers to crimp a butt splice connector?
No. Standard pliers flatten the connector barrel into an irregular oval, resulting in high contact resistance, damaged wire strands, and no mechanical strain relief. Always use a ratcheting crimper with a matched die for that wire gauge.
What do red, blue, and yellow insulation colors mean on crimp terminals?
In standard industrial and automotive wiring, red typically covers 0.5–1.5 mm² (22–16 AWG), blue covers 1.5–2.5 mm² (16–14 AWG), and yellow designates 4.0–6.0 mm² (12–10 AWG). Always verify exact cross-sections against the manufacturer’s datasheet.
Should I add solder over a completed crimp terminal connection?
No. Adding solder wicks into stranded conductors, creating a rigid stress concentration point that fractures under vibration, while masking a potentially loose or defective crimp underneath. A properly crimped joint requires no soldering.
Finding the Right Terminals for Your Application
Choosing the right terminal depends on the wire size, connection type, and installation requirements. Our connectors and terminals range includes standard options for different applications, with OEM and ODM services available for projects that require custom specifications.
If you’re working on a new assembly or sourcing replacement components, share your wire size range, stud or tab dimensions, and insulation requirements. Our team can help you review the available options, provide technical drawings, and arrange samples for testing before bulk production.